


































































Search all blogs
Latest posts
-
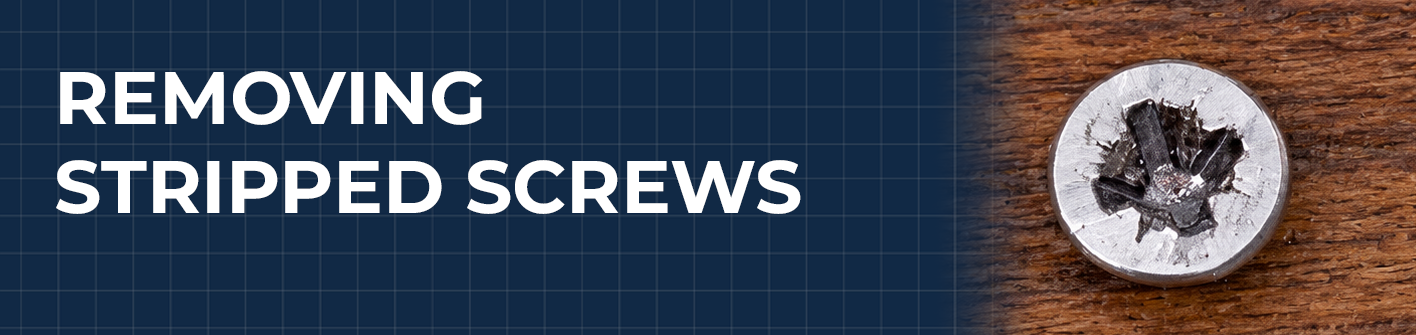 How to Remove a Stripped Screw15/10/2026Read more
A practical guide to removing stripped, rounded and broken screws using common tools, specialist methods and...
-
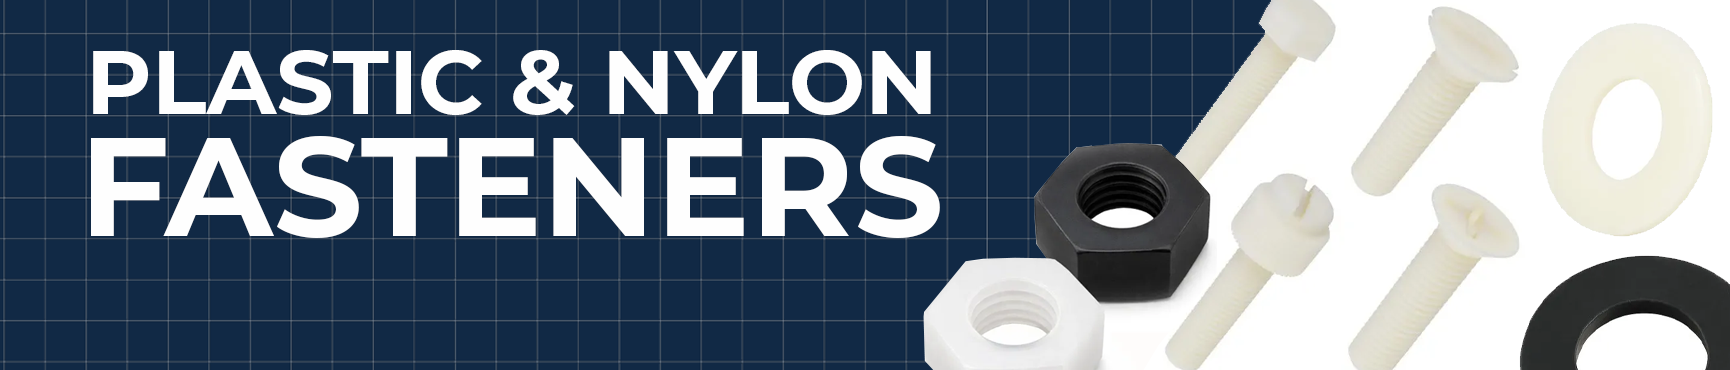 Find the Right Plastic & Nylon Fastener13/10/2026Read more
A practical guide to choosing plastic and nylon fasteners, covering screws, nuts, washers, thumb screws,...
How to Remove a Stripped Screw
How to Remove a Stripped Screw
A stripped screw can quickly turn a simple maintenance or assembly job into a frustrating task.
Stripping occurs when the drive recess in the screw head becomes damaged to the point where the screwdriver or driver bit can no longer engage correctly. Instead of turning the fastener, the tool begins to slip or rotate inside the damaged drive.
This guide covers practical ways to remove stripped, rounded, recessed and broken screws before looking at how to prevent the problem happening again.
What Is a Stripped Screw?
A stripped screw is a fastener with a damaged drive recess. The cross, slot, hex socket or other drive shape has worn away enough that the driver can no longer transfer torque properly to the screw.
Stripping is commonly caused by using the wrong driver size, allowing the tool to slip during installation, applying excessive torque or repeatedly removing and reinstalling the same screw.
Softer screw materials can also be easier to damage if the driver is not fully engaged. Using the correct driver and tightening the fastener with controlled torque can significantly reduce the risk.
Start with the least destructive method first. If the screw head still has some recognisable drive shape, additional grip may be enough to remove it without drilling or cutting.
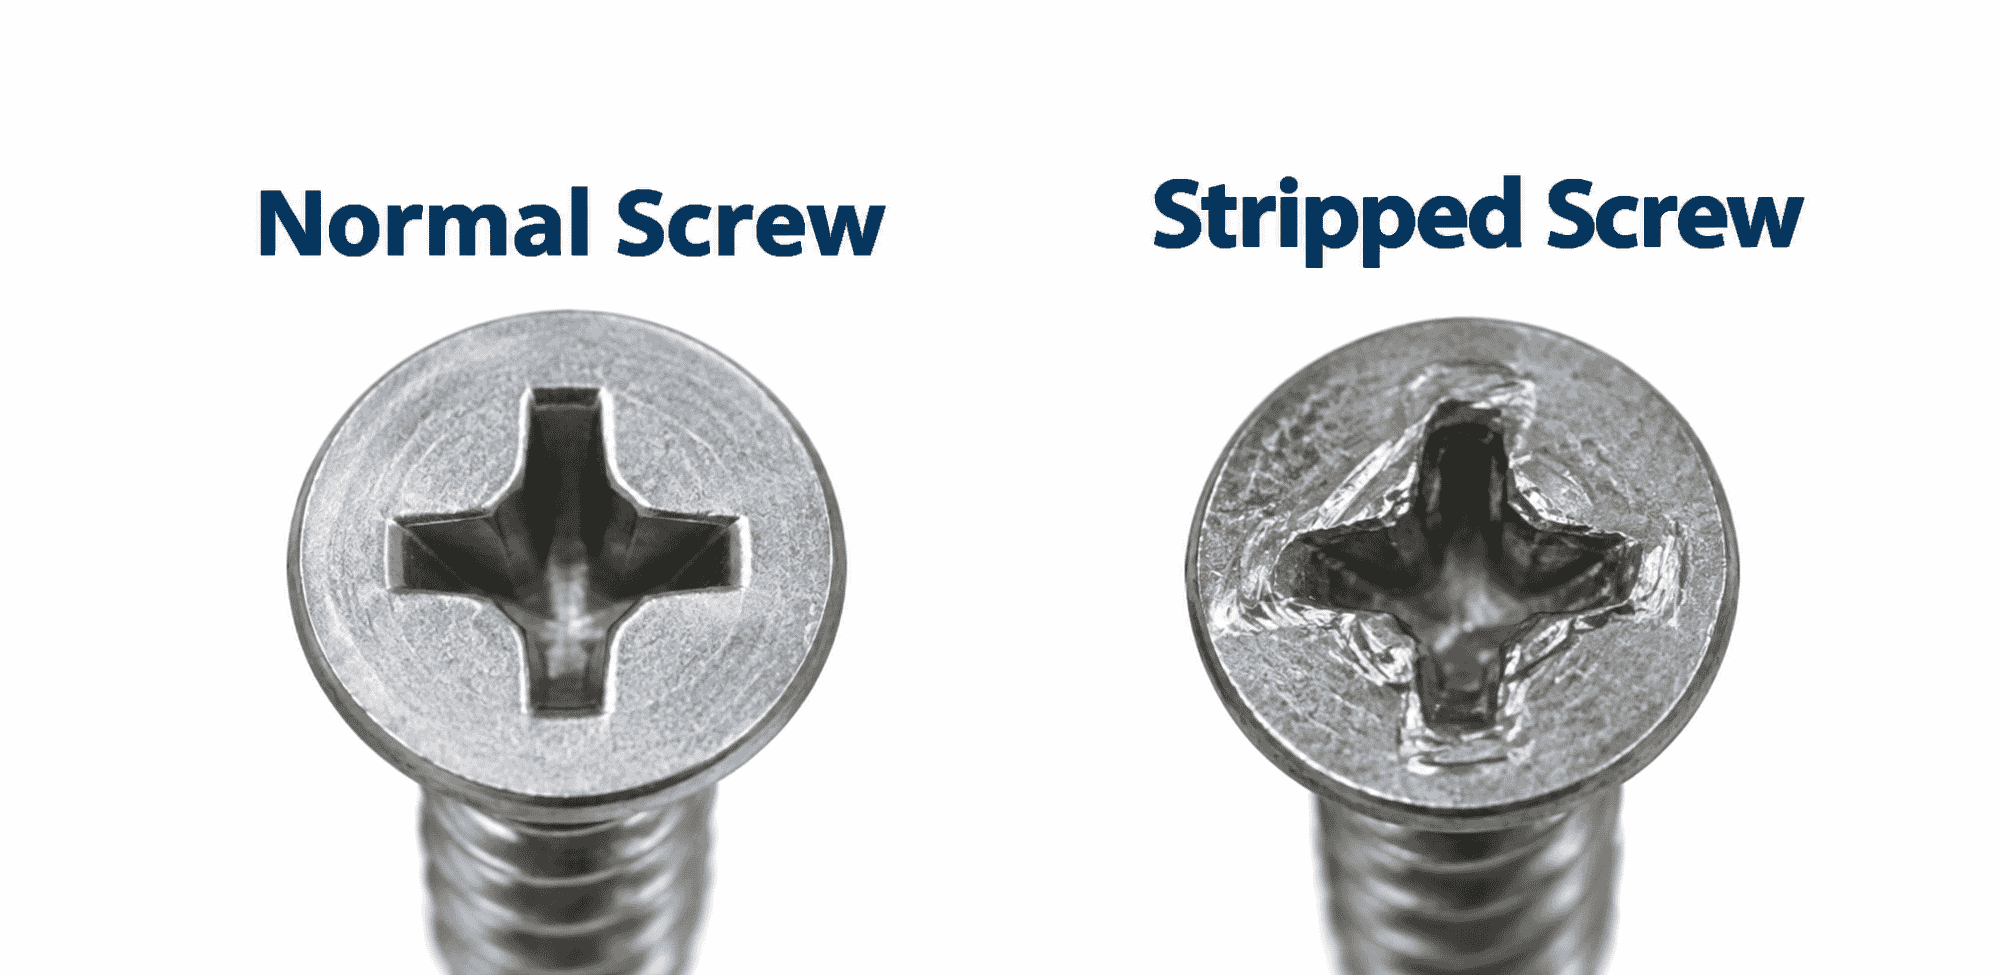
Stripped Screw Removal Guide
How to Remove a Screw With a Stripped Head
If the screw head is only slightly damaged and the cross, slot or hex shape is still visible, start by increasing the contact and friction between the driver and the screw head.
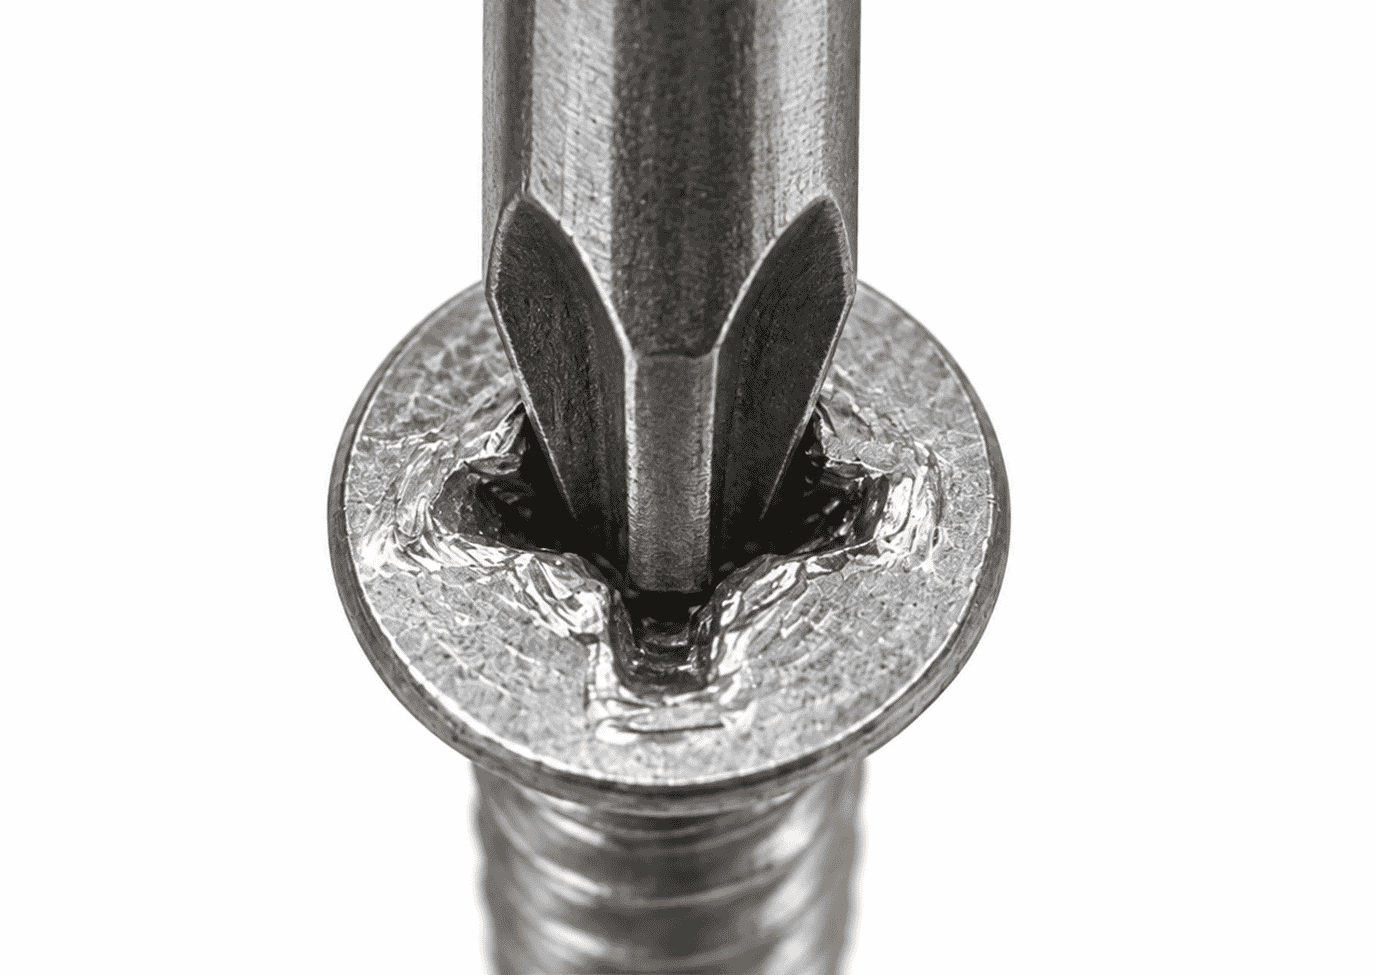
Remove a Stripped Screw With a Larger Screwdriver
If the drive recess still has some shape remaining, try the next driver size up. Increasing the contact between the tool and the damaged screw head can sometimes provide enough grip to loosen the fastener.
Tools Required
- Screwdriver or driver bit one size larger than the original
- Optional torch for visibility
Method
- Inspect the damaged drive and choose the next suitable driver size.
- Seat the larger screwdriver firmly into the screw head.
- Apply steady downward pressure.
- Turn anticlockwise slowly to see if the screw begins to move.
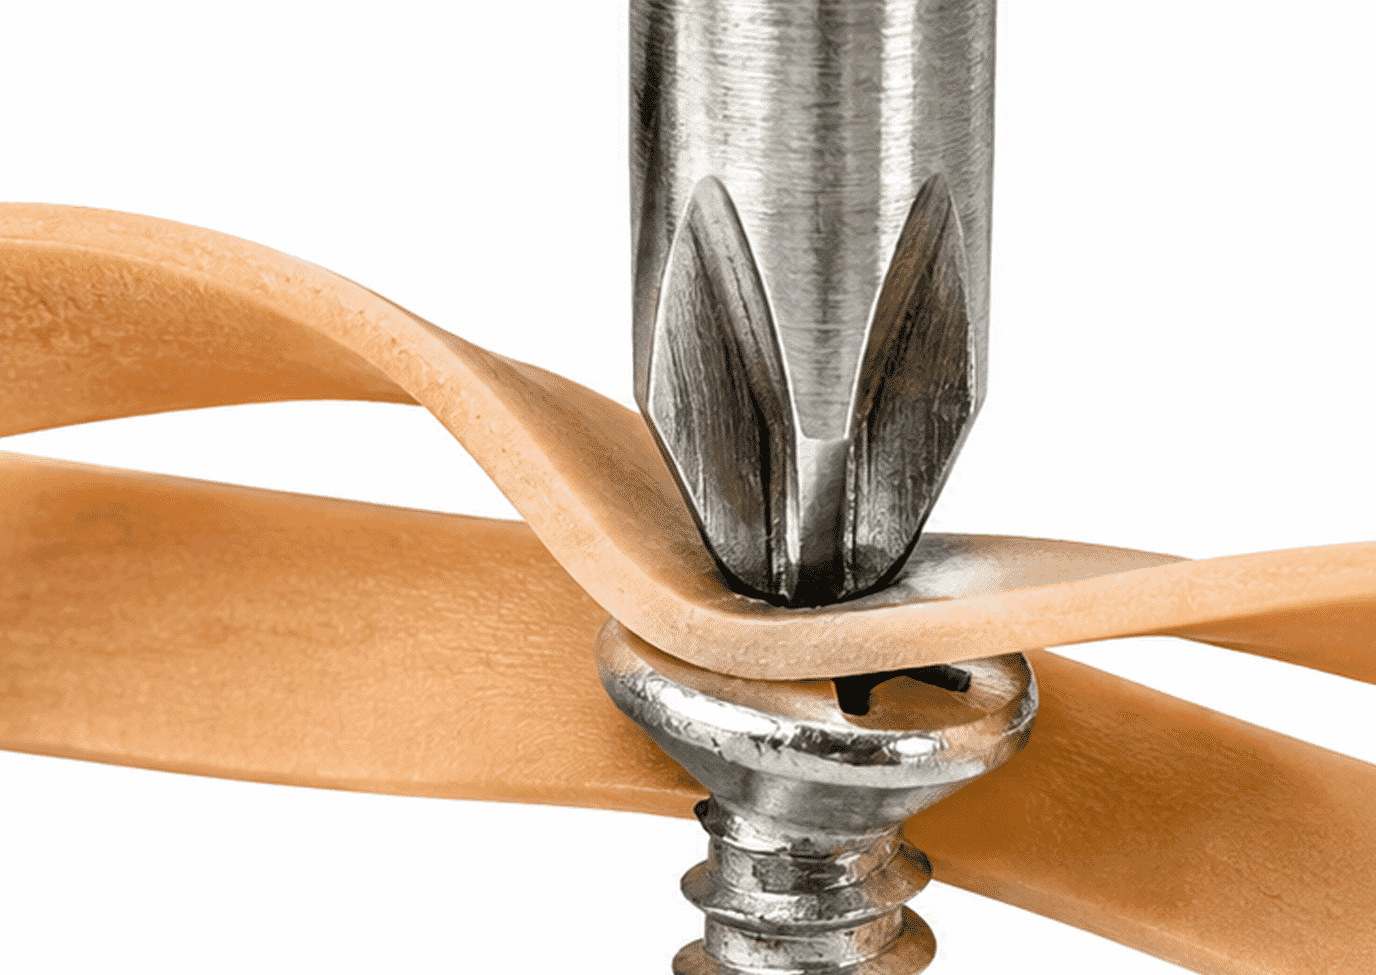
How to Remove a Stripped Screw With a Rubber Band
A wide rubber band can provide additional friction between the driver tip and the damaged recess. This simple method is worth trying before moving on to drilling or cutting.
Tools Required
- Wide rubber band
- Screwdriver or driver bit
Method
- Place a wide rubber band across the stripped screw head.
- Push the screwdriver firmly into the drive with the rubber trapped between the two surfaces.
- Turn the screw anticlockwise using low speed and steady pressure.
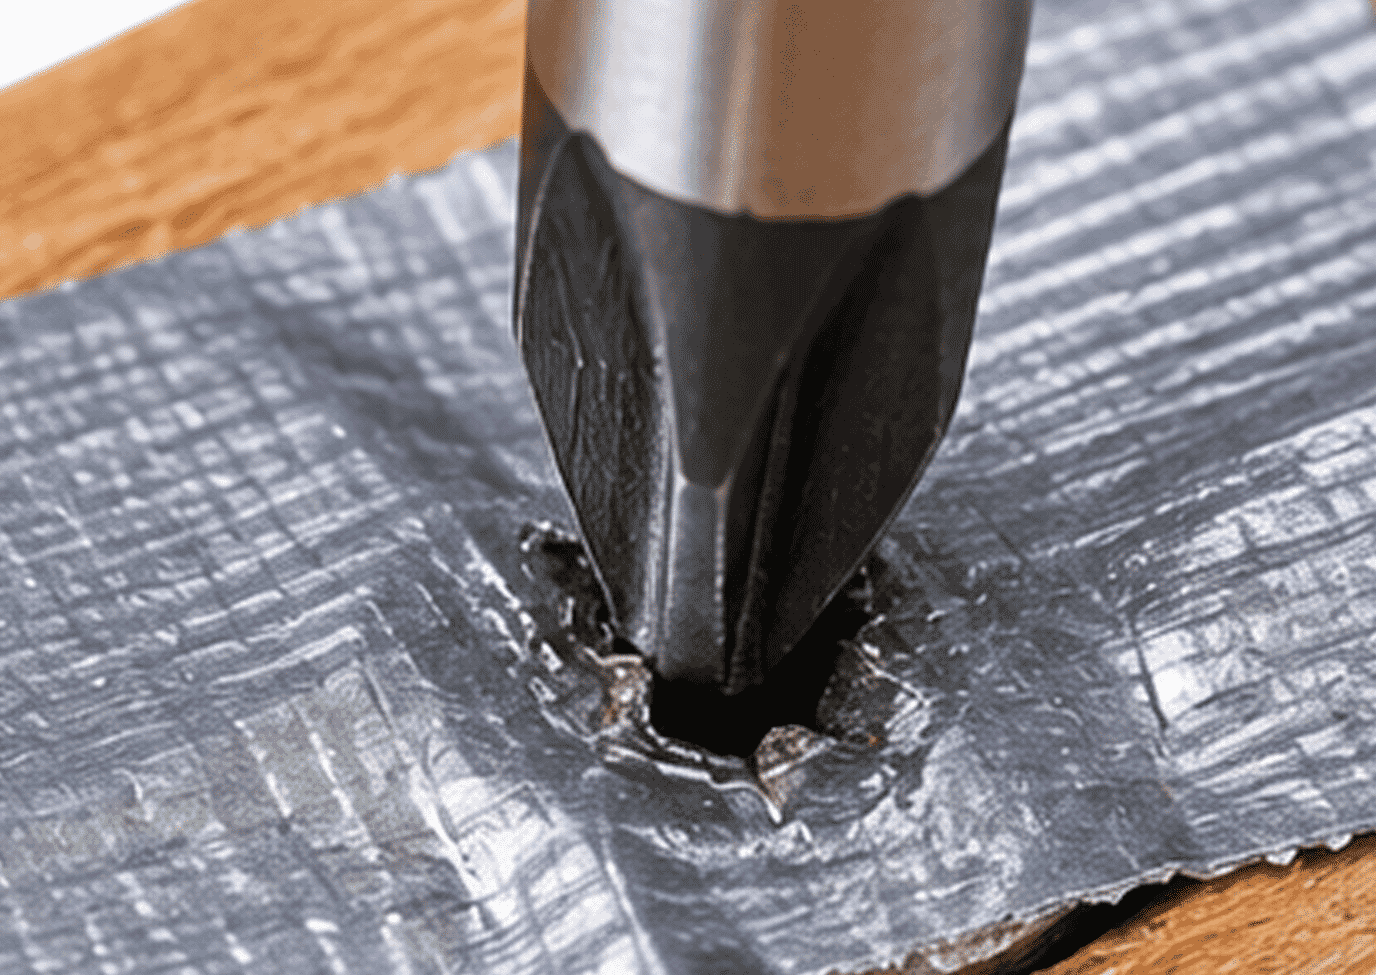
Remove a Stripped Screw Using Duct Tape
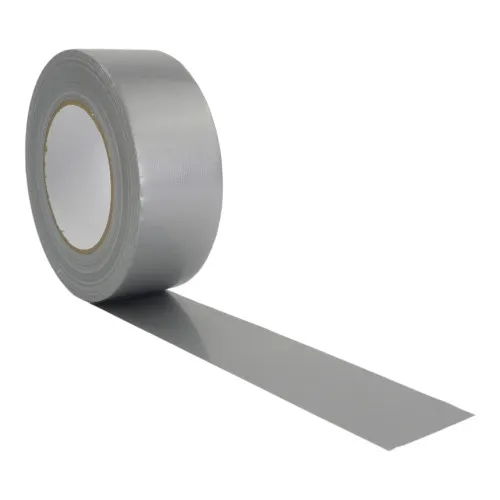
Duct tape can work in a similar way to a rubber band by introducing an additional layer between the screwdriver and damaged drive.
Tools Required
- Small piece of duct tape
- Screwdriver or driver bit
Method
- Place a small piece of duct tape over the screw head with the adhesive side facing down.
- Push the driver into the damaged recess using gentle downward pressure.
- Turn anticlockwise slowly while maintaining firm contact.
How to Remove a Stripped Screw With Super Glue
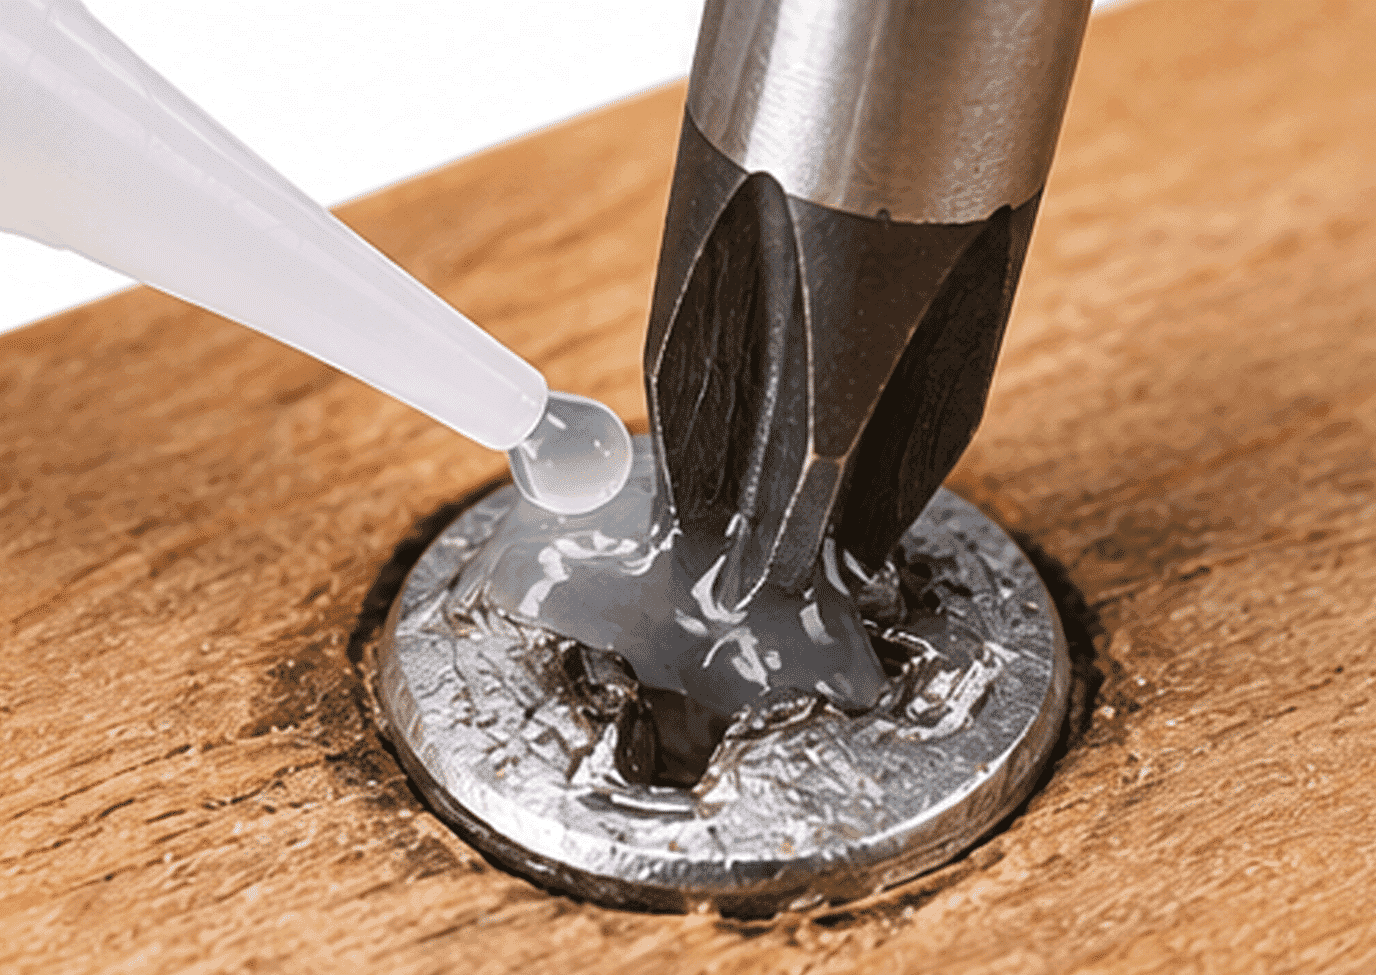
Where the recess no longer provides enough grip, a small amount of suitable adhesive between the driver and screw head may create enough temporary bond to turn the fastener.
Tools Required
- Suitable super glue or adhesive
- Screwdriver or driver bit
- Cleaning cloth
Method
- Apply a small amount of adhesive to the damaged drive area.
- Position the driver carefully in the centre of the screw head.
- Allow the adhesive to cure fully.
- Turn anticlockwise slowly to avoid breaking the bond.
How to Remove a Rounded Screw
Once the drive has become completely rounded, a standard screwdriver may no longer engage with the head. At this stage you may need to create a new gripping surface or use a more aggressive extraction method.
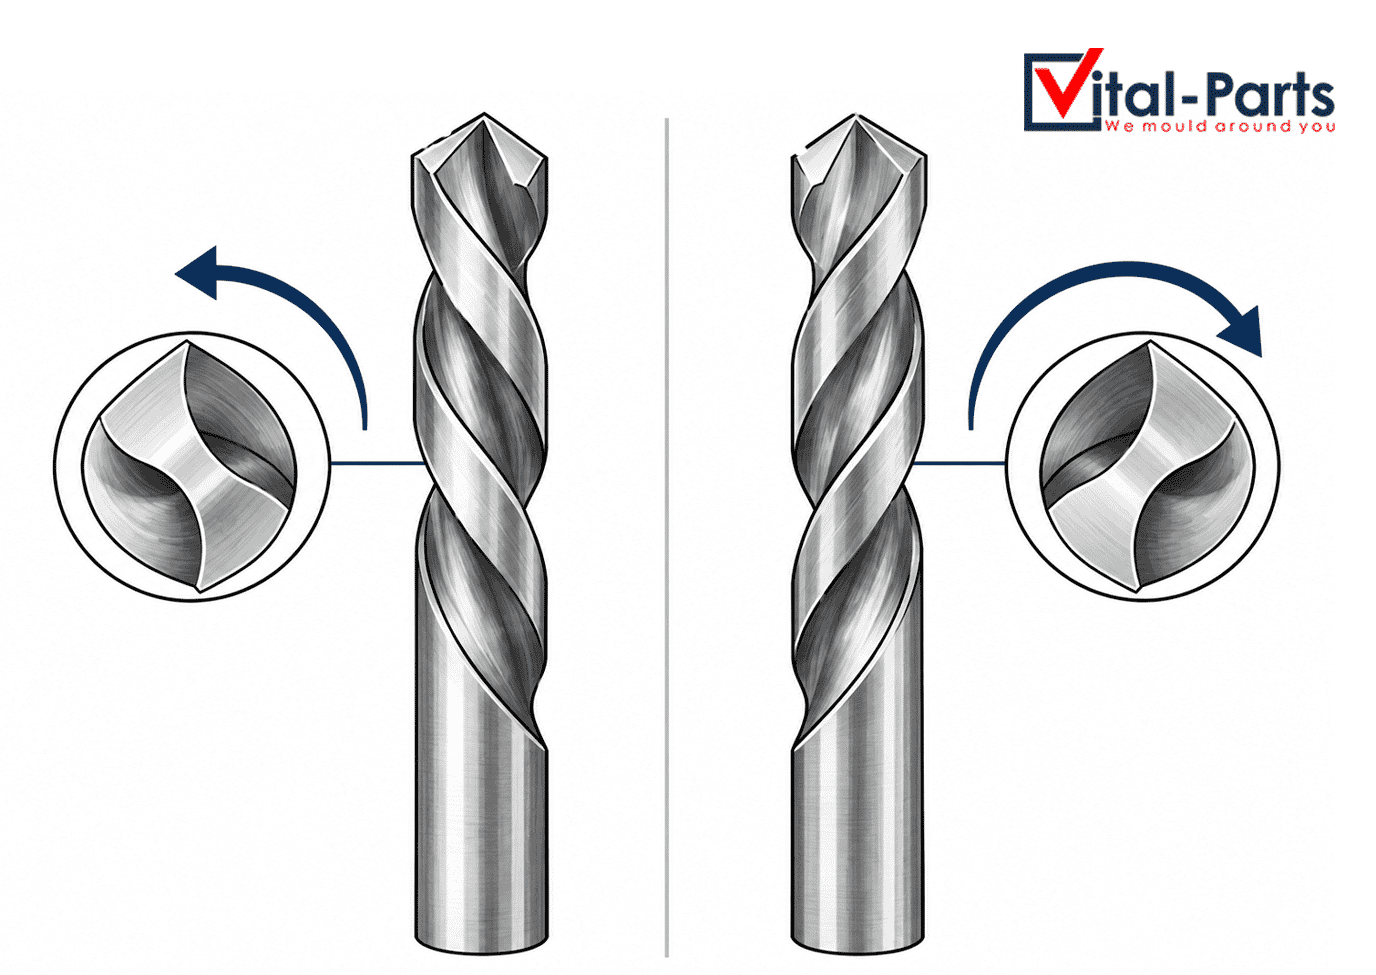
Remove a Rounded Screw With a Left-Hand Drill Bit
A left-hand drill bit rotates in the same direction used to loosen a conventional right-hand screw. When used carefully, the bit may bite into the damaged fastener and begin turning it out while drilling.
Tools Required
- Left-hand drill bit
- Electric drill
- Safety glasses
Method
- Select a left-hand drill bit slightly larger than the damaged recess but smaller than the complete screw head.
- Fit the bit securely into the drill chuck.
- Use a low drill speed and apply steady pressure into the centre of the screw.
- If the bit grips the screw, the fastener may begin rotating anticlockwise and release.
Cut a New Slot in a Stripped Screw With a Rotary Tool
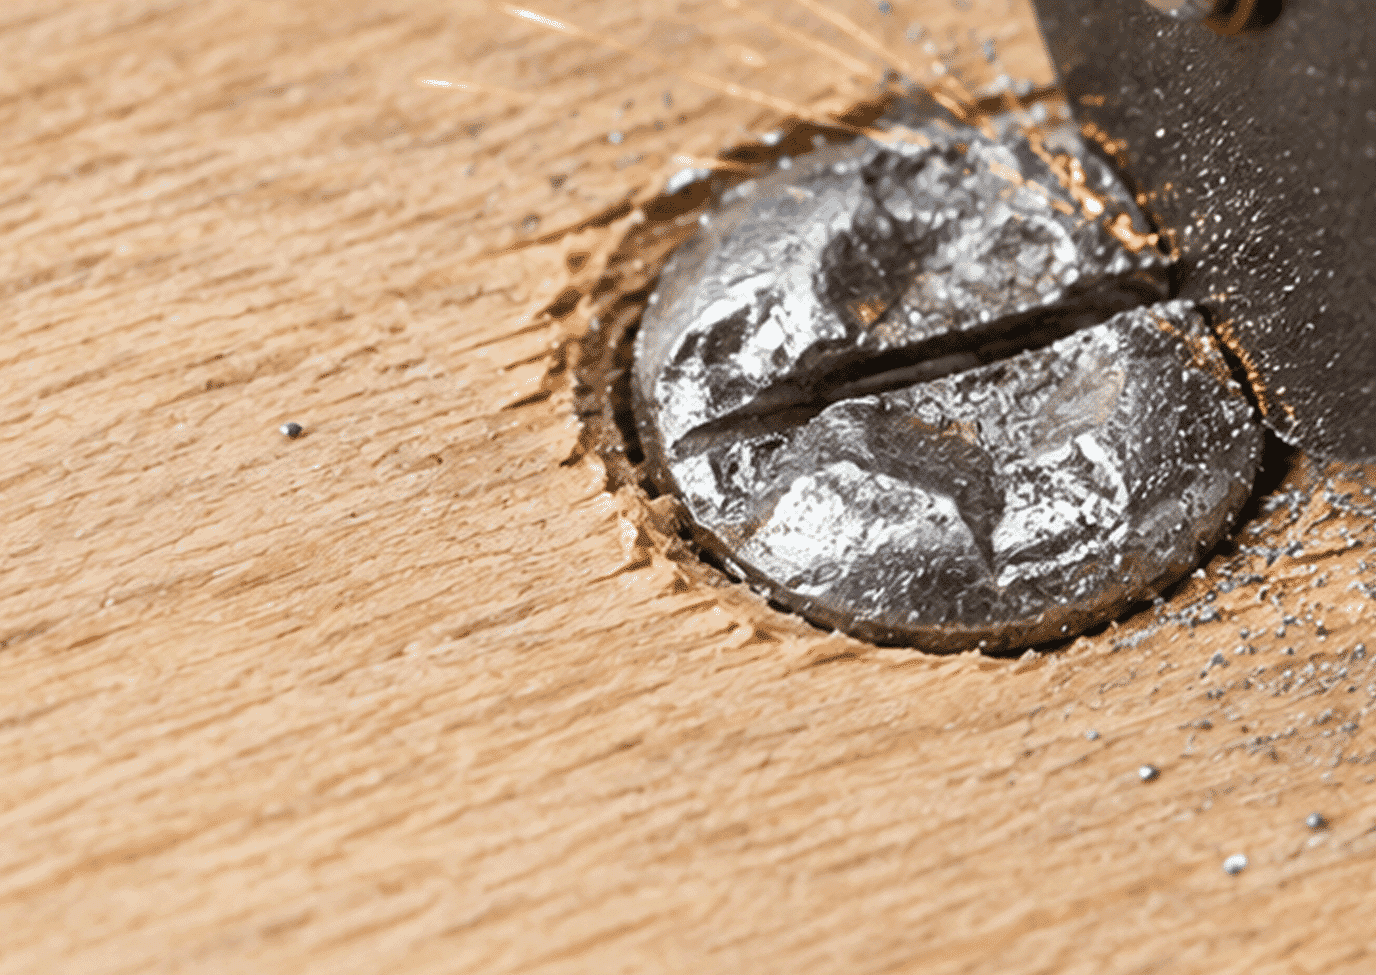
If the original drive is unusable but the head remains accessible, a rotary cutting tool can be used to create a new straight slot for a slotted screwdriver.
Tools Required
- Eye protection
- Rotary tool
- Suitable cutting disc
- Slotted screwdriver
Method
- Fit a thin cutting disc suitable for the screw material.
- Carefully cut a straight slot across the top of the screw head.
- Insert a slotted screwdriver into the newly created groove.
- Turn anticlockwise using controlled pressure.
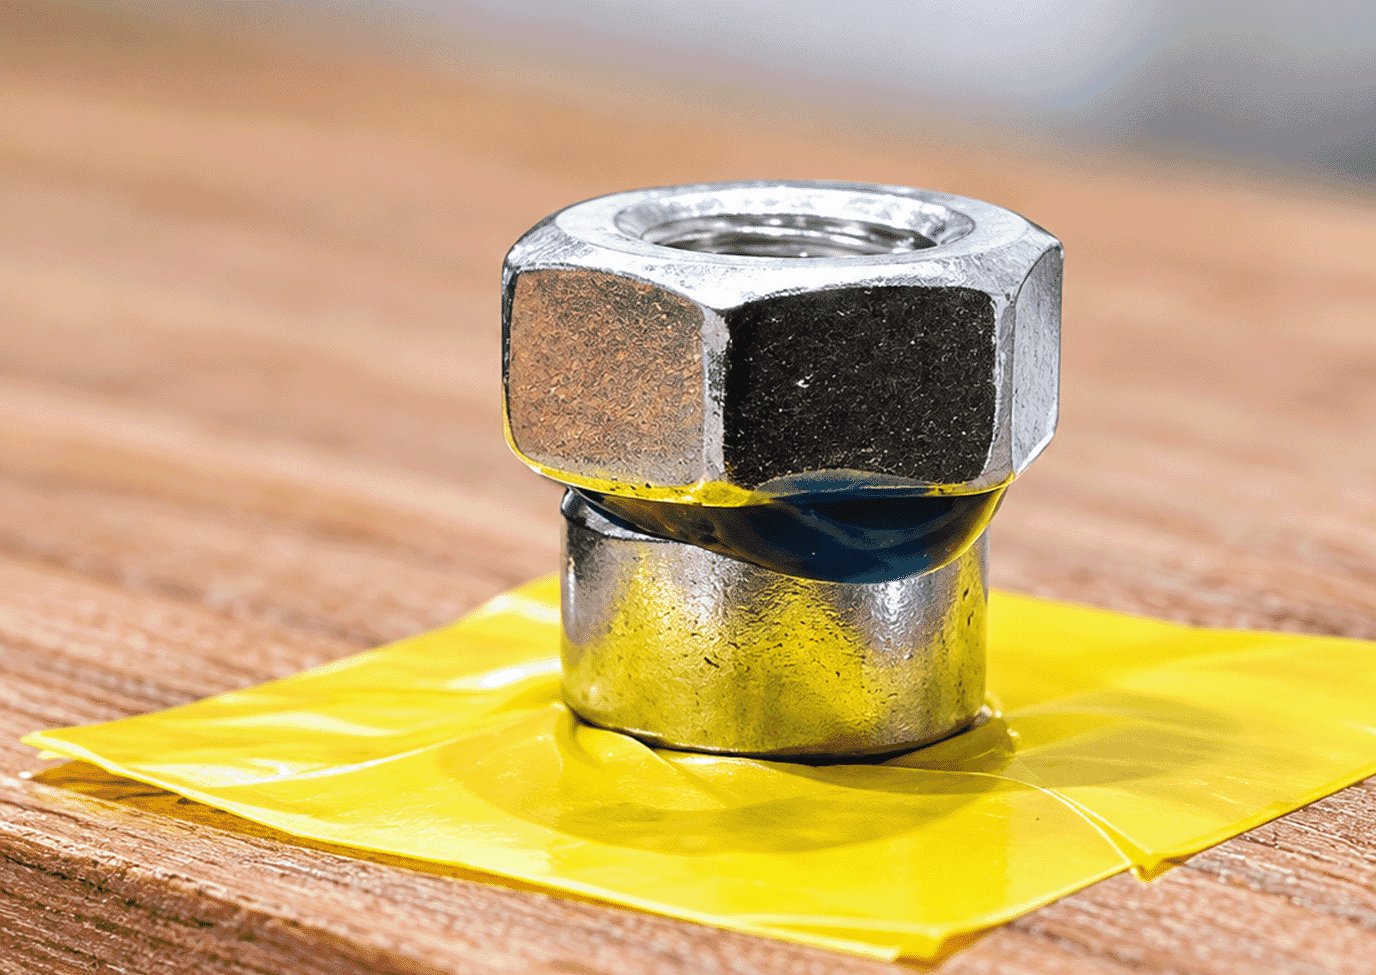
Remove a Rounded Screw Using a Nut
Another option is to bond a hex nut to the damaged screw head. Once secured, the nut creates a new external hexagonal surface that can be turned with a socket or spanner.
Tools Required
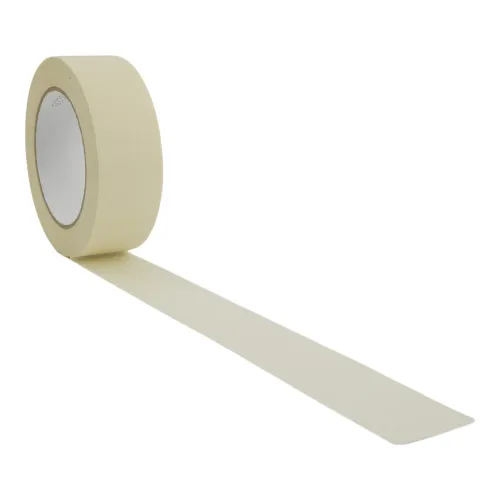
- Masking tape
- Strong epoxy adhesive
- Suitable hex nut
- Socket wrench or spanner
Method
- Mask around the damaged screw to protect the surrounding surface.
- Centre the nut carefully over the screw head.
- Bond the nut in position using a suitable strong adhesive.
- Allow the adhesive to cure fully.
- Use a socket or spanner to turn the nut anticlockwise.
How to Remove a Protruding Screw With No Head
If the screw head has broken away but part of the threaded shaft is still protruding from the surface, you may be able to grip the remaining material directly.
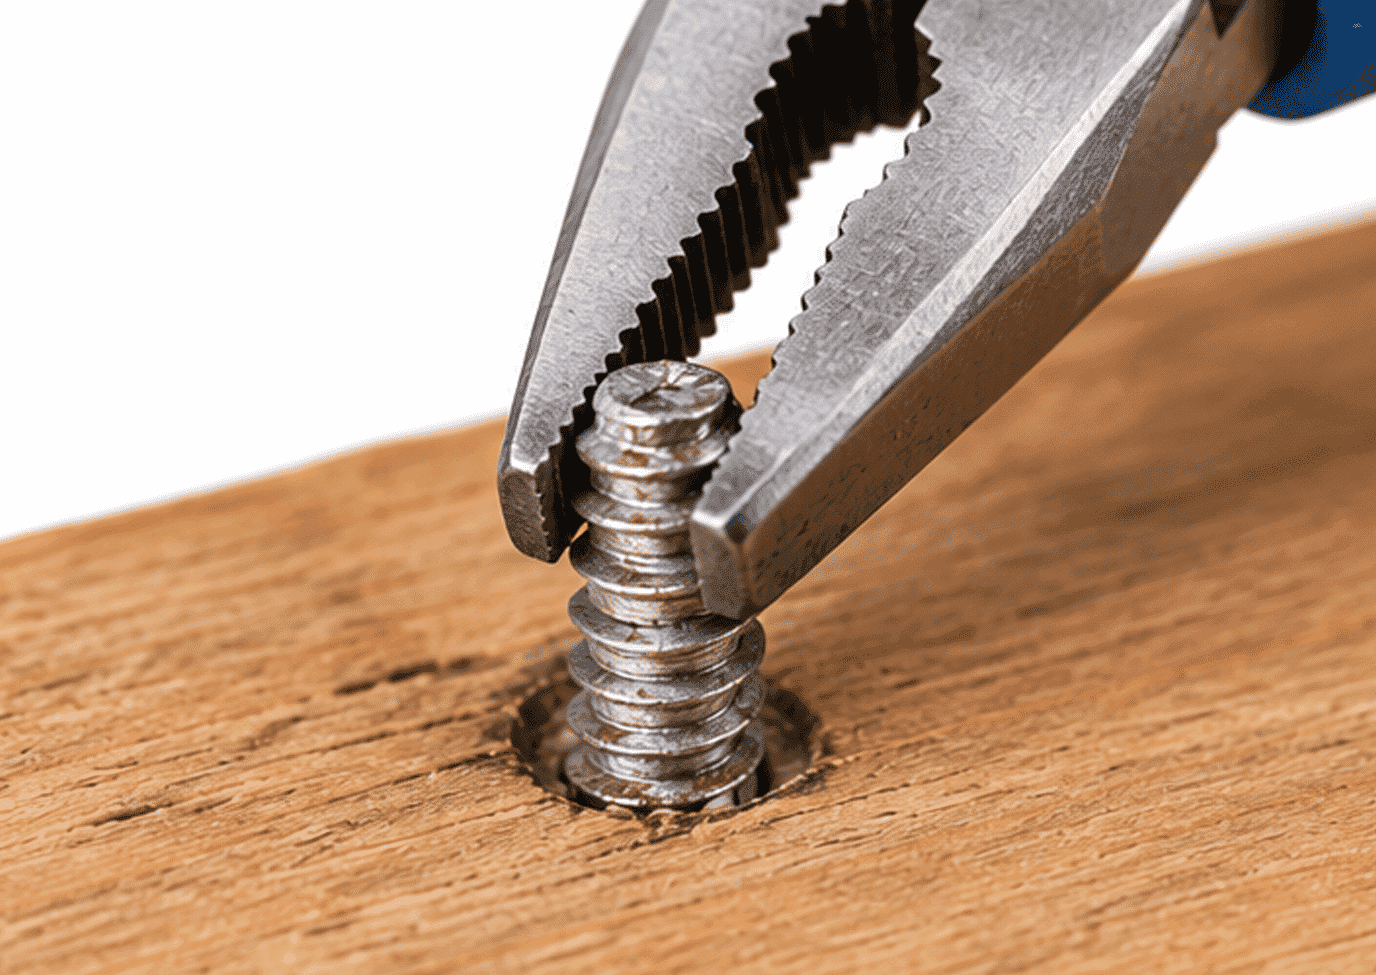
How to Remove a Stripped Screw With Pliers
Pliers are one of the simplest options when enough of the screw shaft remains above the surface to grip securely.
Tools Required
- Pliers or locking pliers
Method
- Clamp the exposed threaded shaft firmly with pliers.
- Locking pliers can provide additional grip and allow you to concentrate on turning the screw.
- Rotate the pliers and screw anticlockwise until the fastener begins to release.
Loosen a Stuck or Stripped Screw With a Hammer
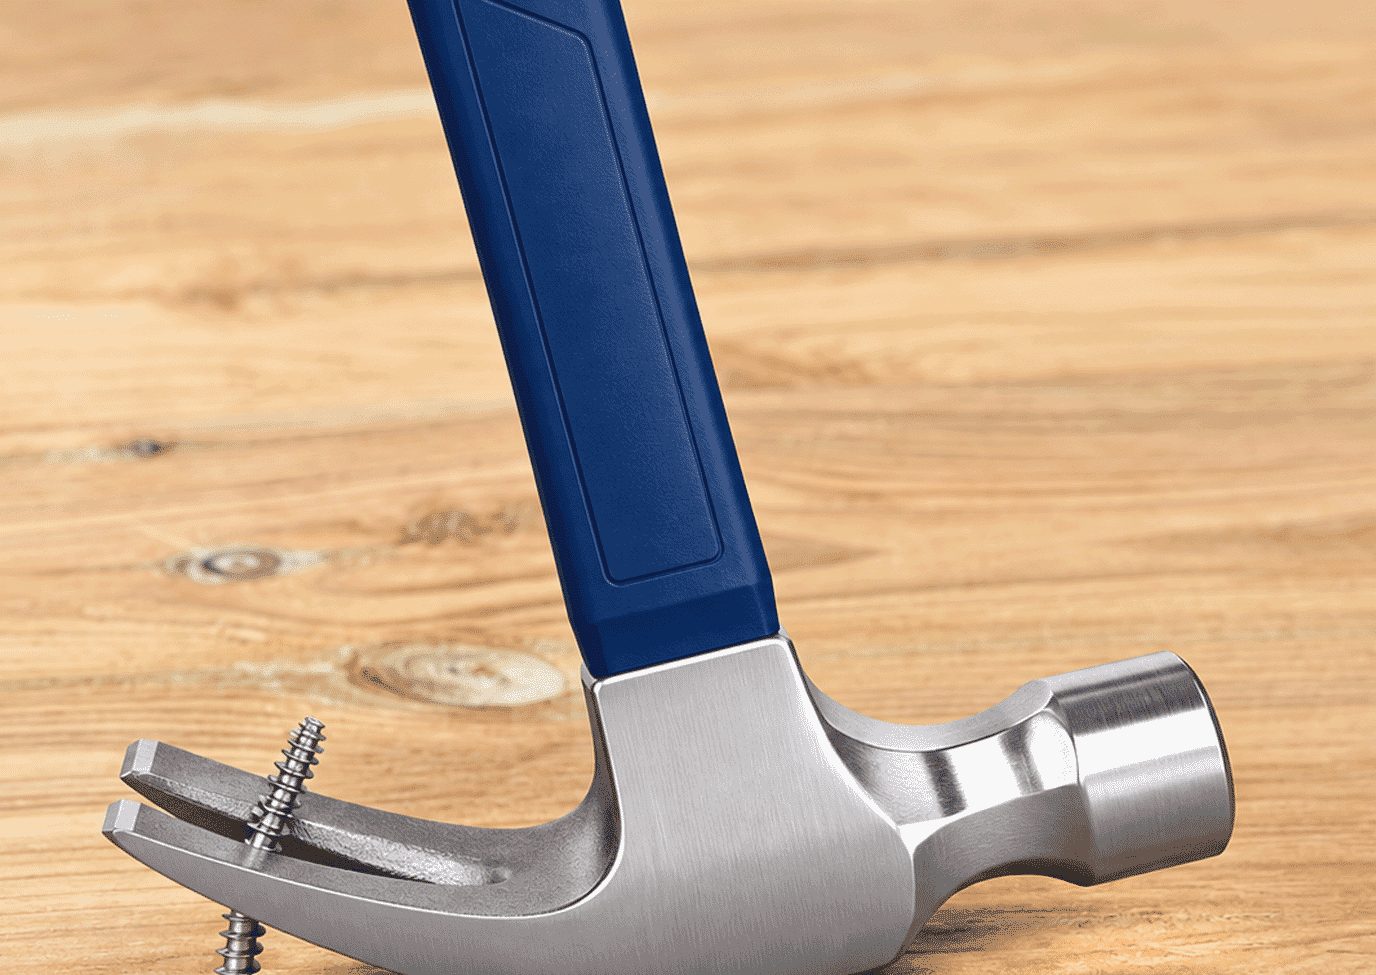
A claw hammer can sometimes grip beneath a protruding threaded section and provide enough leverage to loosen a broken or badly damaged screw.
Tools Required
- Claw hammer
- Optional protective sheet for the surrounding surface
Method
- Position the claw around the exposed screw shaft.
- Apply enough pressure for the claw to grip the remaining threads.
- Twist anticlockwise while gently pulling upwards.
- If necessary, use the hammer as a lever to pull the screw vertically from the material.
How to Remove a Recessed Stripped Screw
A recessed screw is harder to grip because the shaft is concealed inside the material. Where normal gripping methods are impossible, an extractor or drilling method may be required.
How to Use a Screw Extractor on a Stripped Screw
A screw extractor is designed specifically for removing damaged or broken screws. The extractor engages with a drilled pilot hole and allows the fastener to be turned anticlockwise.
Tools Required
- Screw extractor
- T-handle, tap wrench or suitable bit holder
- Metal drill bit
- Electric drill
- Small amount of cutting oil
- Hammer
Method
- Choose an extractor suitable for the screw diameter.
- Add a small amount of suitable oil to the drilling area.
- Drill a centred pilot hole into the damaged screw shaft.
- Insert the extractor into the pilot hole.
- Turn the extractor anticlockwise using controlled pressure.
Drill Out a Stripped Screw
Drilling through the remaining screw shaft can remove a fastener that cannot be gripped or extracted by other means. However, the process may enlarge the original hole.
Tools Required
- Electric drill or pillar drill
- Small metal drill bit for the pilot hole
- Larger metal drill bit
- Suitable cutting oil
Method
- Apply a small amount of oil to the screw.
- Drill a pilot hole through the centre of the shaft.
- Increase to a larger drill bit and carefully follow the existing pilot hole.
- Remove the remaining screw material.
- If necessary, repair or re-tap the resulting hole before fitting a replacement fastener.
Professional Removal for Severely Stripped Screws
For extremely difficult metal fasteners, specialist workshops may use spark erosion, also known as EDM or electrical discharge machining.
The process removes conductive material using controlled electrical discharges rather than conventional cutting. It can be useful where a hardened screw cannot be drilled or extracted successfully.
Tools Required
- Professional EDM equipment
- Suitable tooling or electrode
- Qualified specialist operator
Method
- Assess whether the component and damaged fastener are suitable for EDM removal.
- Position the workpiece securely in the specialist equipment.
- Use controlled electrical discharge machining to remove the damaged fastener material.
- Inspect the original fixing hole before installing a replacement screw.
Choosing a Screw Removal Method by Material
The surrounding material should influence the method you choose. Techniques that may be acceptable on a steel assembly can cause unnecessary damage when working with timber or plastic.
Removing a Screw With No Head From Metal & Plastics
Depending on the application and available access, suitable methods may include:
- Increasing friction at the drive
- Attaching a nut to the screw
- Using a screw extractor
- Drilling out the shaft
- Professional EDM for suitable metal components
Removing a Screw With No Head From Wood
When removing a damaged screw from timber, consider methods that minimise damage around the fixing:
- Increasing friction
- Attaching a nut to the damaged screw
- Using a left-hand drill bit
- Using a screw extractor
- Gripping the exposed shaft with pliers
- Using a claw hammer where appropriate
- Cutting a replacement slot where accessible
How to Prevent Screws From Stripping
Preventing drive damage is normally easier than removing a stripped fastener. A few simple checks during installation can reduce the risk significantly.
Use the Correct Driver
Match the driver type and size to the screw drive. A driver that is too small can concentrate force on a limited area and damage the recess.
Keep the Driver Straight
Keep the screwdriver or drill aligned with the screw axis so the drive remains fully engaged while the fastener is being installed or removed.
Control the Torque
Avoid excessive tightening force. Torque-controlled tools can help prevent the driver from damaging the screw head. See our torque guide.
Inspect Worn Tools
Replace worn screwdriver tips and driver bits before they begin slipping inside the screw drive.
Consider the Drive Style
Where higher torque is required, socket or Torx-style drives may provide more positive engagement than some conventional cross-head drives.
Check Frequently Removed Screws
If a fastening point is opened regularly, inspect the screw and drive condition during maintenance and replace damaged fasteners before the recess becomes unusable.
Need Replacement Screws?
Once you've removed the damaged screw, replace it with the correct fastener for your application. Explore our range of machine screws, self-tapping screws, wood screws, chipboard screws and other screws and fasteners.
Browse Screws & Fasteners →Check Before Fitting the Replacement
Match the replacement screw to the original thread size, length, head style and drive type wherever possible. If the fixing hole has been damaged during removal, check whether it needs repairing or re-tapping before installing the replacement screw.
Need Help Choosing a Replacement Fastener?
If you are unsure which screw, bolt or nut is suitable for your application, contact the Vital Parts team for help identifying a suitable replacement.
Stripped Screw FAQs
How do you get a rounded screw out?
Start with the least destructive option. If some of the original drive remains, try a larger screwdriver, rubber band or duct tape for extra grip. If the head is completely rounded, a left-hand drill bit, newly cut slot, bonded nut or screw extractor may be required.
How do you extract a rusted screw?
Apply a suitable penetrating oil around the rusted screw and allow time for it to work into the thread. Use the correct screwdriver or driver bit and apply steady pressure while turning anticlockwise. Lightly tapping the screw head can sometimes help break the corrosion bond. If it still will not move, a screw extractor or drilling method may be required.
How can you unscrew a stripped screw?
A stripped screw can often be unscrewed by improving the grip between the driver and damaged head. Try a larger screwdriver, rubber band or duct tape first. For more severely damaged screws, you may need a left-hand drill bit, rotary tool, pliers or a dedicated screw extractor.
How do you get rid of a stripped screw?
Once a damaged metal screw has been removed and cannot be reused, keep it safely contained so the sharp edges cannot cause injury. The best disposal option is generally to take it with other scrap metal to your local household waste recycling centre and use the designated metal recycling area. Do not place loose sharp screws in kerbside recycling unless your local council specifically accepts small metal items.
Can you remove a stripped screw without drilling?
Yes. If the screw head is still accessible, try a larger screwdriver, rubber band, duct tape, adhesive, pliers or attaching a nut before drilling. Drilling is generally better kept as a later option if less destructive methods are unsuccessful.
Related posts
-
 Stainless Steel Equivalent GradesCompare stainless steel grades and find the perfect match for your next project.Read more
-
 Stainless Steel Fasteners: Tightening and Breaking TorquesUnderstanding the Limits: How to Properly Tighten Stainless Steel Fasteners Without Compromising Strength or...Read more
-

Leave a comment